New tailor-made products
We create your stickers 100% personalised
Reduced prices on over 10.000 products
Free Shipping 279د.إ
Express Delivery in 24/72h
Secure Payment and Verified Reviews
+30.000 Available Products
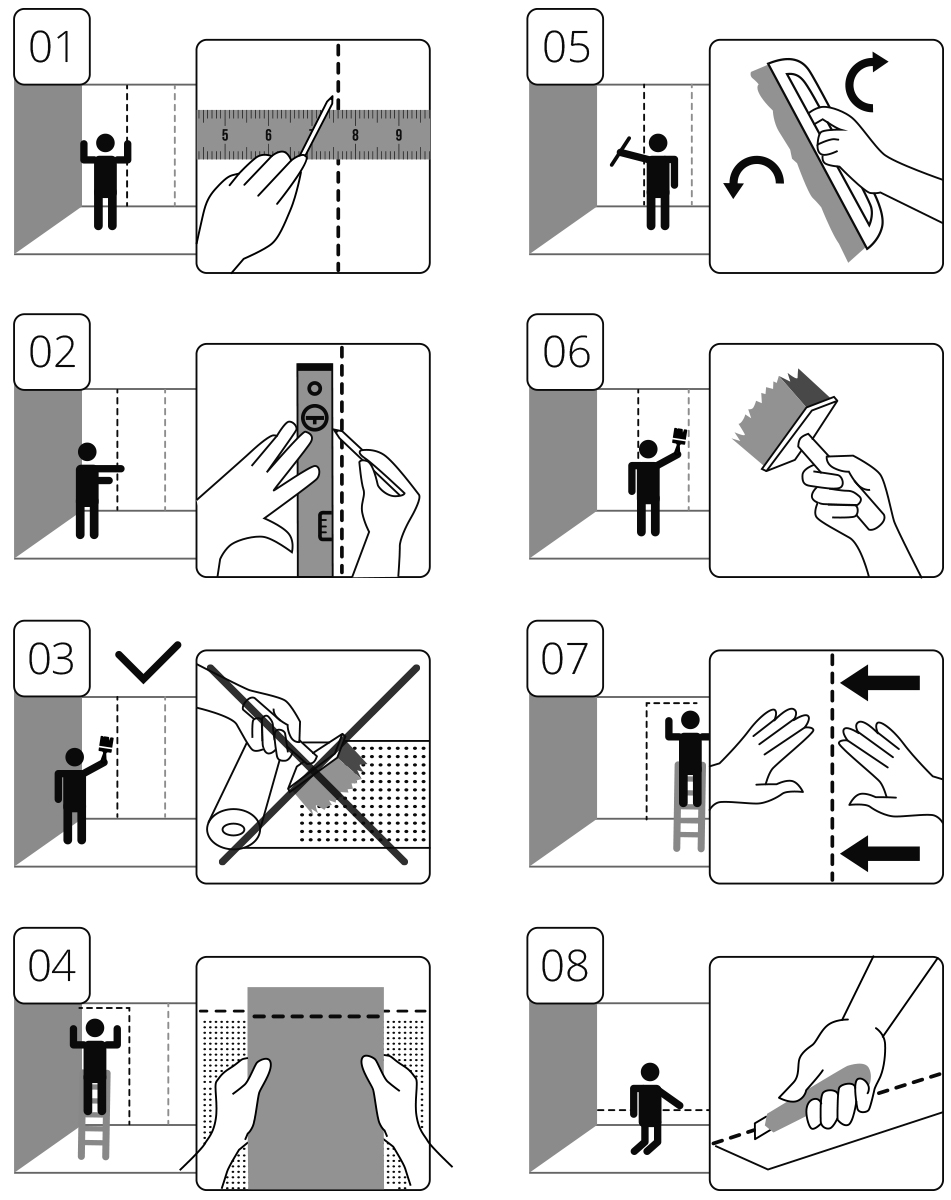
Application Instructions
Instructions for the Application of Wallpaper and Wall Murals

Instructions for vinyl rugs

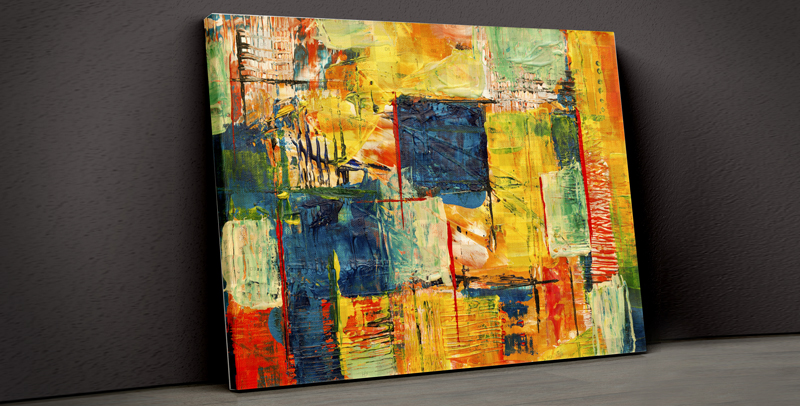
Instructions for Decorative Canvas Prints
Canvas prints are an original, high quality product, that will adapt to any room in your home or business.
BLIND ASSEMBLY INSTRUCTIONS


