1
of
3
plants on concrete living room wall mural
Reference: F6886
Premium Member price:
From
100.70د.إ
From
106د.إ
Information plants on concrete living room wall mural
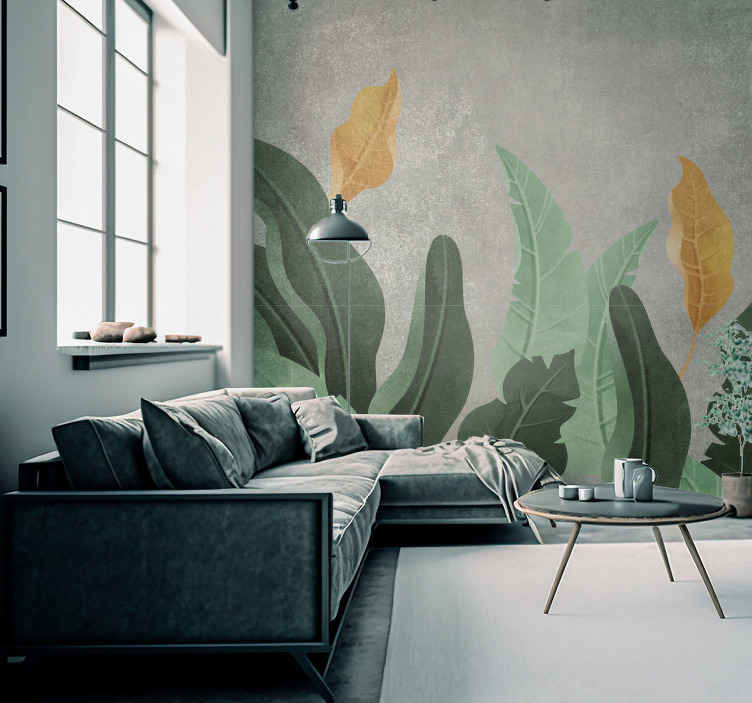
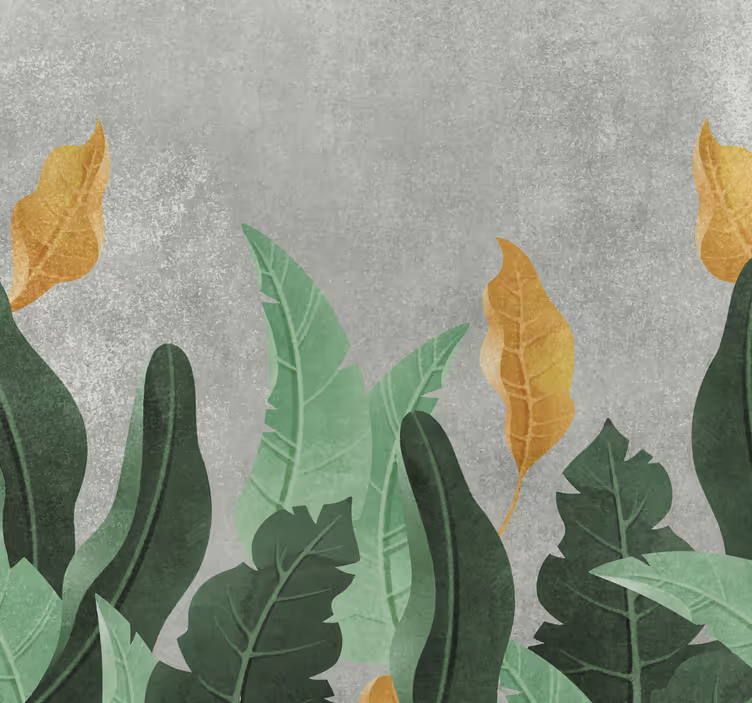
Plants on Concrete Living Room Wall Mural
Transform your living room into a botanical paradise with our stunning Plants on Concrete Living Room Wall Mural! This unique design beautifully combines elements of nature and urban aesthetics, featuring lush plants and leaves against a realistic concrete wall backdrop. The concept of biophilia is embraced, bringing the calming and rejuvenating power of nature into your home.Why Choose This Product for Decoration?
Our Plants on Concrete Mural Wallpaper for the living room is the perfect choice for adding a touch of natural beauty to your space. It effortlessly creates a serene atmosphere and complements various decor styles. With its captivating design, it brings life to any room, making it a stunning focal point that will leave your guests in awe!How to Apply This Product
Applying our Plants on Concrete Wall Mural is a breeze! Simply follow our easy instructions for a seamless installation. Get inspired with our ideas for living room decor and create a space that reflects your unique style. With this mural, you can effortlessly transform your walls into a work of art!Why Buy This Product from Our Online Shop?
When you choose our Plants on Concrete Living Room Wall Mural, you are not only getting a high-quality product but also a delightful shopping experience. We pride ourselves in offering only the best products that meet the highest standards of durability, style, and functionality. With our mural, you can infuse your home with nature's beauty and create a space that brings joy and tranquility.Buy now at a discount!

Installation tools
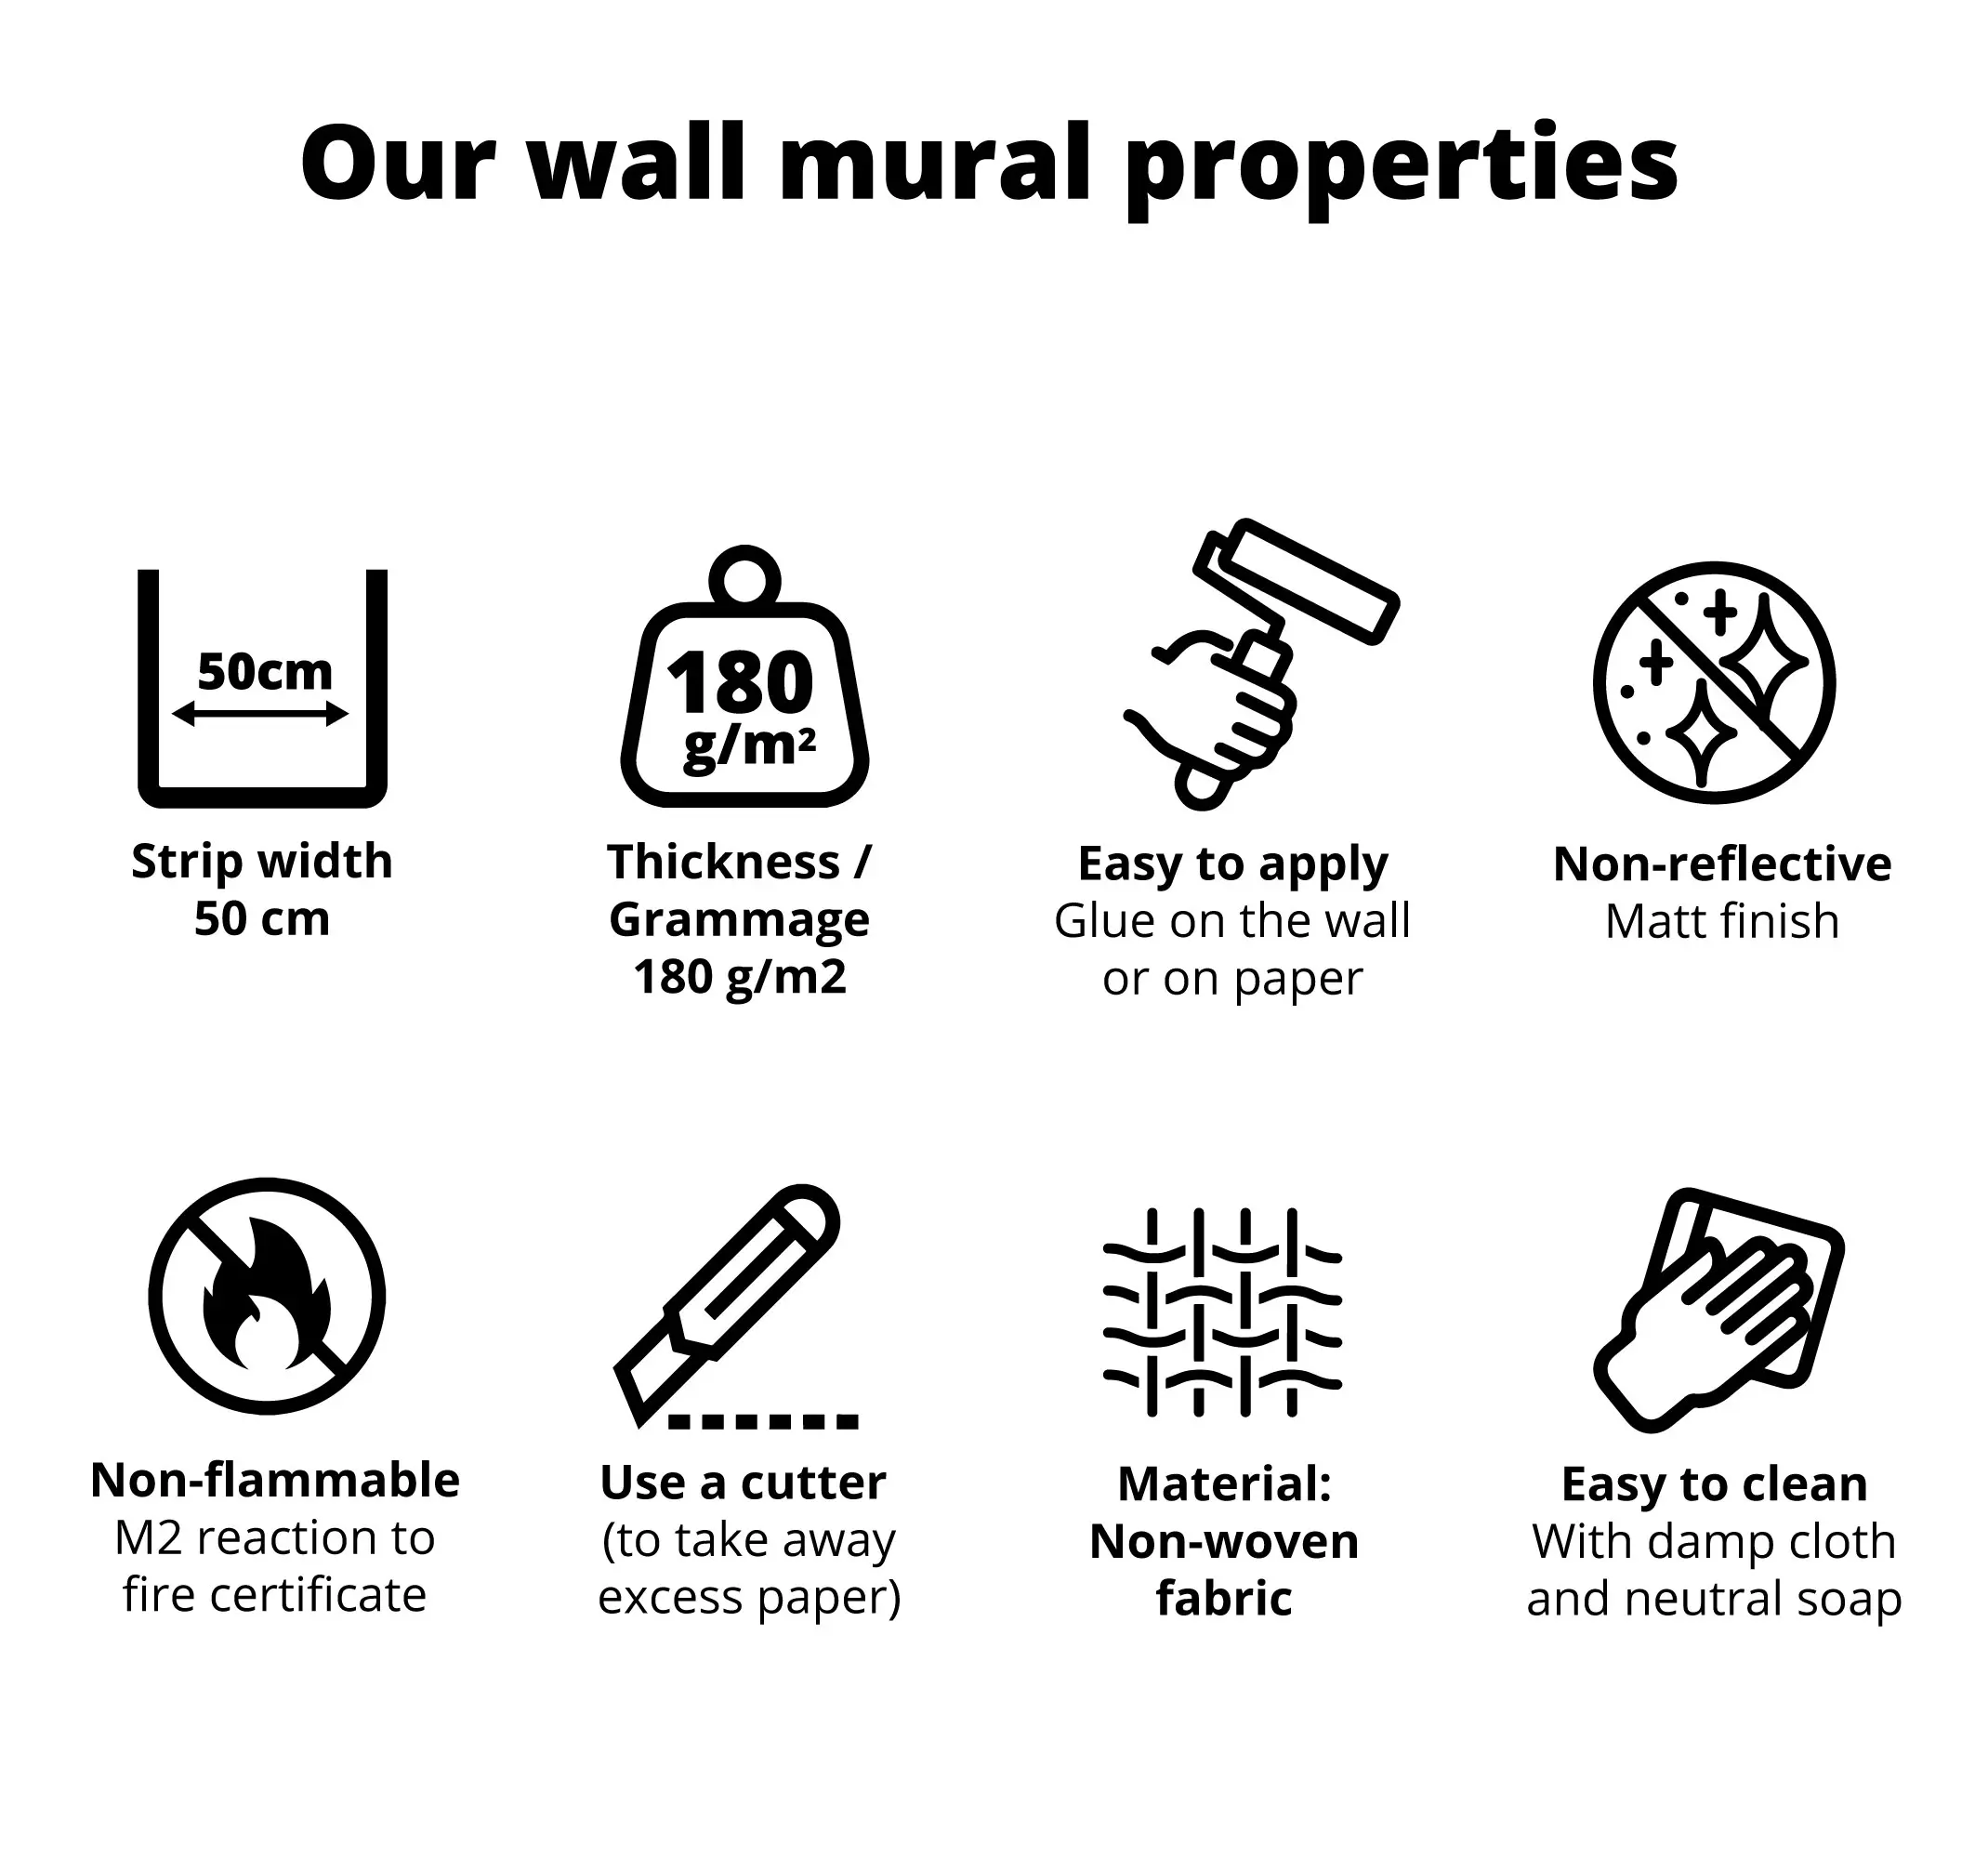
Material: Non-woven wallpaper (TNT)
Strip width: 50 cm
Thickness / weight: 180 g/m2
Custom-made: select the measurements you want and we will adapt the design
100% customizable product: if you want to modify any element of the design, do not hesitate to contact us
Matte finish (satin): non-glossy finish with bright and elegant colors
Easily washable product: Can be gently cleaned with a damp cloth or a non-abrasive sponge and water
Easy installation (bubble-free): Stick directly onto the paper or wall
Suitable surface: Any flat surface
Installation tool kit available
Easy to clean: with a damp cloth and mild soap (do not use harsh products)
Fireproof certificate: M2
Easy to remove from the wall: peels off dry
100% recyclable product: made with eco-friendly inks
100% secure payments
Strip width: 50 cm
Thickness / weight: 180 g/m2
Custom-made: select the measurements you want and we will adapt the design
100% customizable product: if you want to modify any element of the design, do not hesitate to contact us
Matte finish (satin): non-glossy finish with bright and elegant colors
Easily washable product: Can be gently cleaned with a damp cloth or a non-abrasive sponge and water
Easy installation (bubble-free): Stick directly onto the paper or wall
Suitable surface: Any flat surface
Installation tool kit available
Easy to clean: with a damp cloth and mild soap (do not use harsh products)
Fireproof certificate: M2
Easy to remove from the wall: peels off dry
100% recyclable product: made with eco-friendly inks
100% secure payments
You will receive your photo mural carefully rolled in 50 cm rolls and secured with tape to keep it compact.
Also, it will be wrapped in bubble wrap inside a sturdy cardboard package that protects the product during shipping.
Also, it will be wrapped in bubble wrap inside a sturdy cardboard package that protects the product during shipping.
Hanging wallpaper or photo murals requires proper preparation and following the steps.
Recommended materials:
1. Glue
2. Bucket
3. Ruler/tape measure
4. Spirit level
5. Glue brush
6. Brush/roller
7. Cutter
8. Sponge or cloth.
Surface: The wall must be dry, clean, free of grease and free of any residue from previous wallpaper. Fill and smooth any large imperfections.
Glue: Mix one packet of glue (150g) with 4-5 litres of water. Leave to stand for 5-10 minutes and stir. This is sufficient for up to 25 m².
Temperature: Do not apply the wallpaper at temperatures below 10∘C or in low humidity. The optimum temperature is 18−21∘C.
Marking: Use a spirit level and ruler to draw vertical guide lines every 50 cm on the wall. Start from a window frame if applicable.
Pasting: Apply a thin layer of paste to:
Option 1: Directly onto the wall (slightly wider than the roll).
Option 2: Evenly on the back of the paper, from the centre outwards. Fold the ends so that the glued parts touch and leave to rest for a few minutes to allow it to soak slightly.
Hanging: Place the top of the roll on the wall and align it with the guide line. Slide gently if necessary.
Smoothing: Use the brush from the centre outwards (top to bottom) to remove air bubbles. Avoid getting glue on the brush if it has been applied to the wall.
Continuing: Repeat the steps for the following rolls, ensuring that the edges fit together and match the design.
Clean: Remove excess glue with a damp sponge or cloth.
Secure: Smooth the entire surface with the roller.
Drying: Small bubbles will disappear as they dry. Keep the room temperature above 10∘C for the first few days, avoiding excessive heating.
Recommended materials:
1. Glue
2. Bucket
3. Ruler/tape measure
4. Spirit level
5. Glue brush
6. Brush/roller
7. Cutter
8. Sponge or cloth.
Before wallpapering (preparation):
Surface: The wall must be dry, clean, free of grease and free of any residue from previous wallpaper. Fill and smooth any large imperfections.
Glue: Mix one packet of glue (150g) with 4-5 litres of water. Leave to stand for 5-10 minutes and stir. This is sufficient for up to 25 m².
Temperature: Do not apply the wallpaper at temperatures below 10∘C or in low humidity. The optimum temperature is 18−21∘C.
Application:
Marking: Use a spirit level and ruler to draw vertical guide lines every 50 cm on the wall. Start from a window frame if applicable.
Pasting: Apply a thin layer of paste to:
Option 1: Directly onto the wall (slightly wider than the roll).
Option 2: Evenly on the back of the paper, from the centre outwards. Fold the ends so that the glued parts touch and leave to rest for a few minutes to allow it to soak slightly.
Hanging: Place the top of the roll on the wall and align it with the guide line. Slide gently if necessary.
Smoothing: Use the brush from the centre outwards (top to bottom) to remove air bubbles. Avoid getting glue on the brush if it has been applied to the wall.
Continuing: Repeat the steps for the following rolls, ensuring that the edges fit together and match the design.
Clean: Remove excess glue with a damp sponge or cloth.
After gluing:
Secure: Smooth the entire surface with the roller.
Drying: Small bubbles will disappear as they dry. Keep the room temperature above 10∘C for the first few days, avoiding excessive heating.
Standard 10 days home delivery.
Express delivery within 48 hours to your home address available.
Express delivery within 48 hours to your home address available.
These shipping conditions are indicative and non-binding. The final delivery times and costs will be shown when selecting the final delivery address and transport agency.